
How To Scale The Weight In A Miniature Model?
Your miniature model may look nice, but it seems fragile and unrealistic. The wrong weight will make your miniature model look fake and affect its performance. To give your miniature model the illusion and performance of the real thing, you need to weigh and scale it correctly.
To scale the weight in a miniature model, you will need to use a precision scale such as an analytical balance or miniature load cell. These tools will allow you to weigh your miniature model’s components accurately and help you determine the weight needed to give it a realistic feel and performance.
Now, you have the tools to weigh your model, but how do you calculate the weight you need? What materials should you use to add weight? Our team has spent 18 years helping engineers achieve precision measurement. These same principles can be applied to miniatures and can turn your simple model into a realistic and functional miniature. Let’s explore the fundamentals of calculating and adding weight to a miniature model. For those looking to create a detailed miniature with carefully considered proportions and construction, a Custom Diorama Maker Malaysia can also provide professional support.
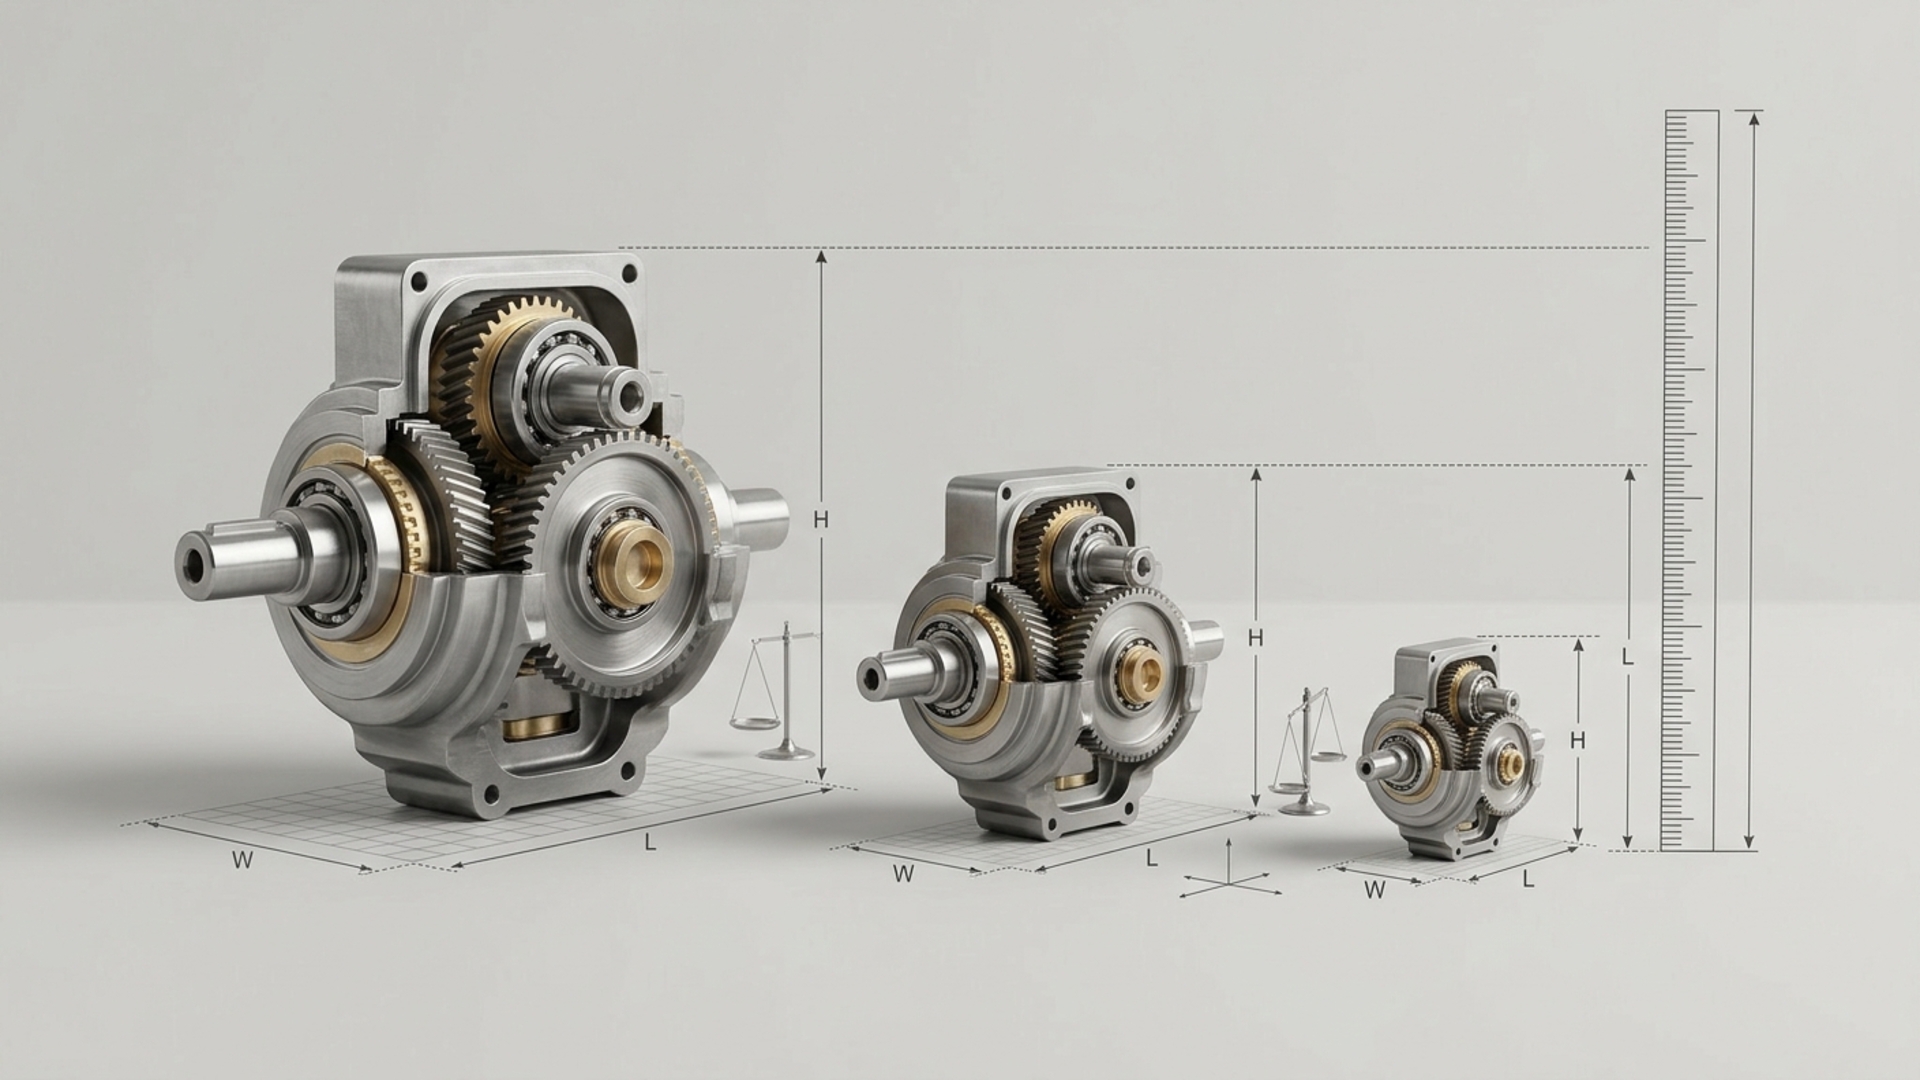
Table of Contents:
- How Do You Calculate The Proportional Weight Of A Scale Model?
- Adjusting For Material Density
- Scale Factor
- What Materials Should Be Used To Add Weight To Miniatures?
- Choosing Your Weighting Material
- Techniques For Placement
- Why Is It Important To Scale The Weight Of A Model?
- What Are The Common Mistakes To Avoid When Adding Weight To A Scale Model?
- Conclusion
How Do You Calculate The Proportional Weight Of A Scale Model?
You know the scale of your model, but how do you determine the weight? It can be challenging to determine the appropriate weight for your miniature model. Guesswork can lead to an unrealistic and poorly performing model. Luckily, there is a simple formula that can help.
To determine the proportional weight of a scale model, you will need to know the real-life weight of the object you are trying to replicate and the scale of your model. Once you know these two things, you can apply the formula below.
The formula to determine the proportional weight of a scale model is:
Model Weight = Real Object Weight × (1 / Scale)^3
Using the formula above, let’s say you are making a 1:24 scale model of a car that weighs 1,500 kg.
The calculation for determining the proportional weight would be:
1,500 kg × (1 / 24)^3 = 1,500 kg / 13,824 = 0.1085 kg = 108.5 grams
Adjusting For Material Density
The calculation above assumes that the material used to make your model has the same density as the real-life object. This is rarely the case when it comes to miniatures. To achieve the right weight, you may need to add weight to your model. The added weight should be distributed throughout the model in specific places to give it the illusion and performance of the real thing. The calculation above will help you determine how much weight you need to add to your model. It is essential to remember that the model’s weight should be spread out as much as possible to achieve the desired performance and realism.
Scale Factor
| Scale Factor | Volume/Weight Multiplier | Example (1000kg Car) |
| 1:10 | 1/1,000 | 1.00 kg |
| 1:18 | 1/5,832 | 171 grams |
| 1:24 | 1/13,824 | 72 grams |
| 1:48 | 1/110,592 | 9 grams |
| 1:64 | 1/262,144 | 4 grams |
What Materials Should Be Used To Add Weight To Miniatures?
You know how much weight you need to add to your model, but what materials should you use? What techniques should you use to add the weight? You don’t want to use materials that are messy or hard to work with. You also don’t want to use materials that could ruin your miniature model.
The materials used to add weight should be dense and should not damage your miniature model. The best materials to add weight to miniatures are tungsten putty, lead shot, and steel ball bearings. The technique used to add the weight is just as important. Weights should always be added low and centered to the model’s chassis or base. When incorporating these elements into a 3D Printed Diorama, it is especially important to ensure that the added weight does not damage or deform the printed components.
I once worked with a client who was building a large-scale model of a suspension bridge. The model needed to have the proper tension and sag, which would be determined by the road deck’s weight. We recommended small, molded tungsten cubes that could be added to the model. The density of the tungsten would allow us to add weight without affecting the model’s aesthetics. The same principles apply to smaller-scale models. The materials and techniques used to add weight should be considered when building miniatures. The model’s density and weight should be distributed throughout the model to achieve the best results.
Choosing Your Weighting Material
Density is essential when choosing a weighting material. The higher the density, the more weight you can add with a smaller amount of material. This is especially important for smaller-scale models that don’t have a lot of room for weighting material.
| Material | Density (g/cm³) | Pros | Cons |
| Tungsten | 19.25 | Extremely dense, non-toxic | Expensive |
| Lead | 11.34 | Very dense, malleable, inexpensive | Toxic (handle with care), can react with plastics |
| Steel | ~7.85 | Inexpensive, readily available | Less dense, can rust if not sealed |
| Brass | ~8.73 | Denser than steel, non-corrosive | More expensive than steel |
| Tire Weights | Varies (Lead/Steel) | Pre-shaped with adhesive backing | Bulky, may not fit in small spaces |
Techniques For Placement
The placement of the weight is just as important as the material used to add weight. The goal is to lower the model’s Center of Gravity (CG)2 to make it more stable. Weights should always be added low to the model’s chassis or base. It is also essential to add weight in a way that keeps the model’s CG centered. Weights should also be added in a way that mimics the real-life object’s CG.
- Add Weight Low: Weights should always be added low to the model’s chassis or base. This lowers the model’s CG, making it more stable.
- Keep it Centered: Weights should be added so that the model’s CG is centered. This is especially important for vehicles. The CG should be biased forward (60/40) to mimic the weight distribution of a real vehicle.
- Secure Everything: Weights should always be secured to the model using strong adhesives. Loose weights can cause the model’s CG to shift, which can affect the model’s stability and realism.
Why Is It Important To Scale The Weight Of A Model?
You have spent hours adding intricate details to your miniature model, but it just doesn’t feel right. It slides instead of rolls, or it feels like a toy when you pick it up. What is missing? Realism. Properly scaling the weight of a model is essential to give it a realistic feel and performance.
Properly scaling the weight of a model is essential to give it a realistic feel and performance. The weight affects how the model interacts with its environment. It also affects the model’s stability and realism. Think about how a real car handles. When a car comes to a stop, its nose dives forward. When the car accelerates, its rear end rises. This is a result of the mass and inertia of the car. A lightweight plastic model does not have the same mass and inertia, so it does not handle the same way. By adding the correct amount of weight, you can replicate the mass and inertia of the real thing. This is essential for dynamic miniature displays and operational models such as remote-controlled cars and trains.
Enhancing Realism
Properly weighting a model can give it a sense of gravity and realism. For static models, this can help give the model a sense of presence and make it feel less like a toy. For vehicle models, it can help replicate the suspension compression of the real thing. If you have a model with working suspension, it will not work correctly unless the model has enough weight to compress the springs. The weight adds realism to the model by giving it the same physical properties as the real thing.
Improving Performance
If you are building an operational model, such as a model train or remote-controlled car, the weight is a functional requirement. Model trains require weight over the drive wheels to create adhesion. This allows the locomotive to pull the train. If the model train does not have enough weight, the wheels will spin, and the train will not move. The same principles apply to remote-controlled cars and slot cars. The weight affects the car’s handling, traction, and stability. Adding weight in specific places can help prevent rollovers and improve the car’s handling characteristics.
What Are The Common Mistakes To Avoid When Adding Weight To A Scale Model?
You have added the correct amount of weight to your model, but it is lopsided and unstable. You have also noticed that some of the weights have come loose and are rattling around inside the model. These are some of the most common mistakes that model makers make when adding weight to a scale model. Let’s explore some of the most common mistakes and how to avoid them.
The most common mistakes when adding weight to a model are: guessing the amount of weight needed, poor weight distribution, and not securing the weights properly. Another common mistake is not accounting for the weight of the paint and glue when calculating the final weight. This can be especially important when working with highly detailed miniature models.
We have supplied thousands of precision sensors to industrial facilities around the world. One of the most important lessons we have learned is that small mistakes can add up. This is especially true when it comes to model making. A few grams of weight in the wrong place can throw off the model’s CG, making it unstable. Precision is essential when it comes to model making, but it also extends to the tools you use.
Mistake 1: Not Accounting for the Center of Gravity (CG)
The most common mistake model makers make when adding weight is not accounting for the model’s CG. Weights should always be added low to the model’s chassis or base. Weights should also be added in a way that keeps the model’s CG centered. You can test the CG by balancing the model on a narrow object, such as a pencil. The model should balance horizontally. If it does not, the model’s CG is too far forward or backward.
Mistake 2: Not Securing Weights Properly
A common annoyance for model makers is finding that weights have come loose and are rattling around inside the model. This is a result of weights not being secured properly. Loose weights can shift the model’s CG, which can affect the model’s stability and realism. Weights should always be secured with a strong adhesive, such as two-part epoxy. You can also use small pieces of plastic to create small compartments for lead shot6 or other small weights.
Mistake 3: Not Calibrating Your Tools
The accuracy of your tools is essential when it comes to model making. You may have the best tools in the world, but they will not be accurate if they are not calibrated correctly. We recommend that our industrial clients calibrate their tools regularly. The same principles apply to model making. Always make sure your tools are calibrated correctly before using them. You should also make sure your work surface is stable and not subject to outside factors, such as wind.
Mistake 4: Not Accounting for Small Weights
When working on a highly detailed miniature model, it is easy to overlook the small things. The weight of the paint and glue can add up, especially when working with small-scale models. This can be especially important when working with highly detailed miniature models. We recommend that you weigh your components after painting them to get the most accurate weight possible. This is especially important for competition-level model makers who need to achieve the most accurate results possible. Experienced Miniature Model Makers In Malaysia can also use precise weighing and placement techniques to achieve more consistent results when working on detailed models.
Conclusion
Scaling the weight of a miniature model is an essential part of model making. By using the calculation, materials, and techniques outlined in this guide, you can bring your model to life and give it a realistic feel and performance. Working with a 3D Diorama Malaysia specialist or a 3D Miniature Model Maker can also help when a project requires detailed construction and careful attention to scale, weight, and realism. If you need assistance with your miniature model project, reach out to our team to discuss your requirements and explore suitable solutions.