
3D Printing Design Optimization: Strength Vs. Aesthetics How to Make a Diorama: A Complete Beginner’s Guide to Diorama Building
Have you ever wished to recreate a stunning landscape, an unforgettable place, or an architectural masterpiece in miniature? With materials, some creativity, and a well-defined plan, you can turn a simple base into a three-dimensional scene rich in character and detail.
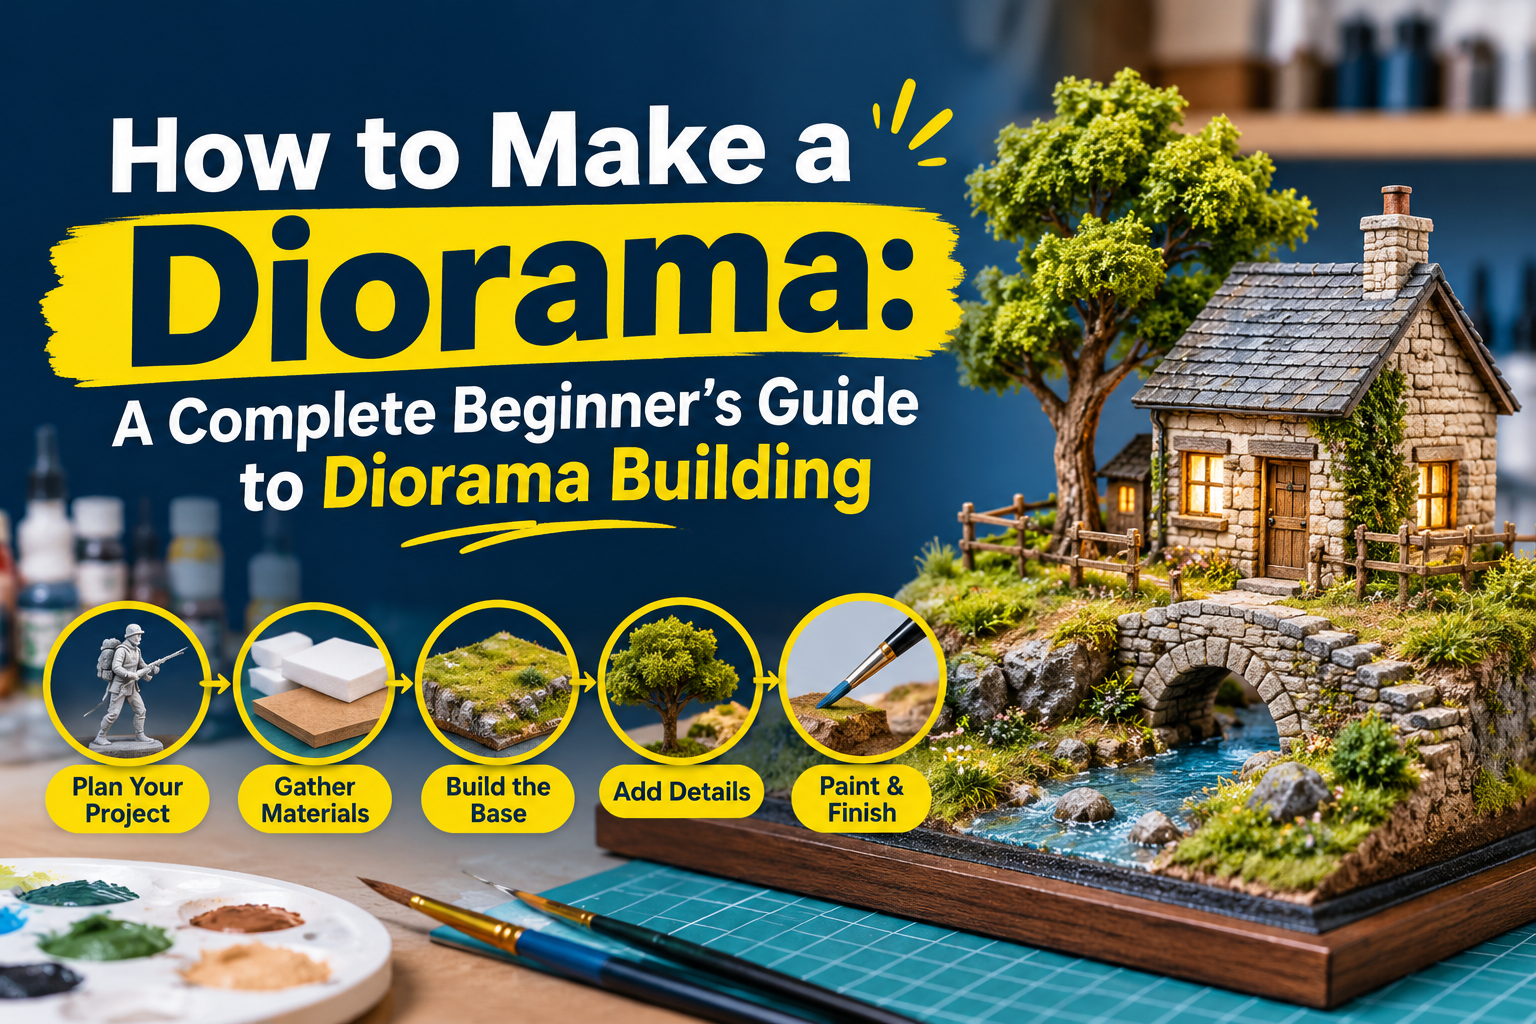
Diorama Building involves more than simply assembling miniature objects. It is about telling a story that viewers can discover with their eyes. From tranquil countryside scenes and historical environments to architectural displays and industrial models, a carefully made diorama can transform even the tiniest space into something remarkable.
Table of Contents:
Whether you are beginning your first hobby project or delving into professional miniature model making, this guide will show you how to plan, construct, and complete a realistic diorama.
What Is Diorama Building, and Why Is It So Fascinating?
A diorama is a miniature three-dimensional scene depicting a specific place, setting, event, or concept. It brings together structures, landscapes, figures, textures, and other details to produce a convincing visual experience.
Picture a railway station featuring worn platforms, miniature passengers, lifelike tracks, and patches of grass growing between the stones. Each element helps convey a broader story.
Hobbyists, educators, collectors, architects, and businesses widely enjoy dioramas. They can depict historical events, introduce building concepts, display engineering designs, or serve as striking exhibition displays.
Modern methods, such as 3D printing, have also simplified creating intricate components and customized structures. With careful planning, you can transform an initial idea into a miniature scene that appears remarkably lifelike.
How to Start Diorama Building: Choose Your Scene and Materials
Before you start cutting, painting, or gluing, determine what you want your miniature world to convey. However, having a clear concept will guide your material choices and help you avoid unnecessary work.
1. Plan a Scene That Tells a Story
Begin with a simple sketch. Decide whether you want to create a rural landscape, an urban street, a historical scene, or an architectural model.
Consider these three essential elements:
- Scale: Select a consistent scale to ensure that buildings, figures, and vehicles appear proportionate.
- Setting: Determine the location, time period, atmosphere, and surrounding environment.
- Focal point: Determine which main feature should capture attention first.
For your first project, a compact base of approximately 30 cm × 20 cm provides a practical starting point. However, after becoming comfortable with the process, you can try more complex layouts.
2. Gather the Right Tools and Materials
Having your materials prepared makes the building process easier and more enjoyable.
Your starter kit might contain:
- Baseboard: MDF, foam board, plywood, or another suitable wooden base.
- Terrain materials: Fine sand, gravel, ballast, static grass, and foliage.
- Structures: Model buildings, laser-cut kits, or custom-built components.
- Paints: Acrylic paints in earthy browns, natural greens, and realistic greys.
- Adhesives: PVA glue and diluted PVA for fixing scenic materials in place.
- Basic tools: A craft knife, cutting mat, ruler, tweezers, and small paintbrushes.
You do not need costly equipment to get started. Begin with readily available materials and add specialised tools as your projects grow more ambitious.
Step-by-Step Diorama Building: Turn Your Idea Into Reality
When your design and materials are prepared, you can start building your scene. The key is to work layer by layer, letting each stage dry thoroughly before proceeding.
Step 1: Prepare a Strong and Stable Base
Your baseboard supports everything added later, so select a material appropriate for your model’s size and weight.
Cut it to the necessary dimensions, then apply an appropriate base coat or diluted PVA where needed. If your scene features hills, embankments, or elevated ground, shape them with foam or other lightweight materials before applying the surface textures.
Planning these variations in height at an early stage helps your completed diorama appear more natural.
Step 2: Build Realistic Terrain and Ground Cover
Terrain gives your miniature world its distinctive character. Apply adhesive to small areas of the base, then add sand, gravel, ballast, or scenic scatter to create varied ground surfaces.
Use contrasting textures to differentiate paths, roads, grass, and railway areas. Let the adhesive dry completely before adding an appropriate sealing layer.
However, to achieve greater realism, avoid making every surface completely smooth. Minor differences in height and texture can make the scene feel much more like the real world.
Step 3: Assemble and Position Your Structures
Buildings, bridges, platforms, and other structures often serve as the focal point of a diorama. You can put together ready-made kits or make custom components that match your design. However, laser-cut kits simplify assembly, while 3D-printed parts can help recreate complex forms and specialised architectural details.
Moreover, paint and weather your structures before fixing them permanently in place. Subtle additions of rust, dust, faded paint, and dirt can make a new-looking building seem convincingly aged.
Thus, before securing anything with glue, try out various placements and examine the arrangement from multiple angles.
Step 4: Add Miniature Details That Bring the Scene to Life
At this stage, your Miniature Diorama starts to resemble a real place rather than simply a group of small objects. Include trees, hedges, figures, vehicles, signboards, benches, and other accessories that reinforce your chosen story. However, make sure every item matches the proportions of the selected scale.
For instance, a countryside scene could show a tractor next to a weathered shed, whereas an architectural display might feature miniature pedestrians, streetlights, and landscaped pathways.
Furthermore, keep in mind that adding more detail does not always improve the result. Every object should enhance the scene rather than draw attention away from its main feature.
Step 5: Refine the Colours, Lighting, and Finishing Touches
Move back and examine your work in adequate lighting. Check for bare areas, unnatural colours, noticeable glue marks, or details that seem disproportionate.
Also, use subtle weathering to create unity and give the scene greater depth. Where suitable, add small LED lights to emphasize buildings, streets, or interior spaces. After everything has dried, apply a compatible protective finish where needed. Treat delicate scenery with care to avoid damage while it is being displayed or transported.
How 3D Printing Can Improve Your Diorama
Traditional modelling methods are still valuable, but 3D printing provides greater flexibility when precise, customised components are required.
For instance, it allows you to produce specialised architectural features, miniature machinery, display components, or structures that can be challenging to recreate by hand. Digital modelling also enables you to adjust dimensions before the physical parts are manufactured.
For a 3D Diorama Malaysia project, these methods can be particularly beneficial for creating architectural presentations, engineering displays, or customised miniature scenes. The most suitable production method depends on the required level of detail, material, size, and intended application.
Additionally, Scale Model 3D Printing offers services that include 3D printing, miniature model making, 3D scanning, and scale model assembly. These capabilities can assist with projects that demand more than basic hobby materials.
When Should You Consider Professional Diorama Services Malaysia?
Creating a diorama on your own can be fulfilling, although complex projects may demand specialised skills, accurate measurements, or considerable attention to detail.
You may wish to consider Professional Diorama Services Malaysia if you require a custom architectural display, a detailed industrial scene, an exhibition model, or a miniature version of a particular design.
Professional assistance can help you identify suitable materials, develop your concept, and organise the production of intricate components. It can also be beneficial when consistency, presentation quality, and project deadlines are important.
Thus, before you begin, gather reference images, estimated dimensions, the desired scale, and a clear explanation of your objectives. Providing details enables a model-making team to understand your expectations and suggest a suitable approach.
Concluding Words
Creating a diorama gives you the chance to transform your imagination into a detailed, three-dimensional experience. By planning the scene, selecting appropriate materials, constructing realistic terrain, and including carefully chosen details, you can build a miniature world that draws attention and conveys a compelling story.
Whether you are working on your first Diorama Building project or creating a professional display, remember that realism depends on thoughtful composition, consistent scale, and patience.
If your vision calls for customised components or professional model-making expertise, consider 3D printing and scale model services provided by Scale Model 3D Printing. With the right approach and support, your next miniature creation can become truly memorable.
Ready to Turn Your Diorama Concept into Reality?
Transform your vision into an intricate miniature masterpiece with Scale Model 3D Printing. From customised parts and architectural models to professional diorama construction, our team can help turn your concept into a lifelike three-dimensional display.
Contact Scale Model 3D Printing today to discuss your project needs and discover our professional diorama services in Malaysia. Let’s create a miniature world that brings your vision to life!
FAQs
How can I build my own diorama?
To create your own diorama, use this straightforward step-by-step method followed by hobbyists and described in guides such as How to Make a Diorama: Easy Step-by-Step Guide and How to Make a Diorama: 10 Steps (with Pictures).
How do I build a diorama as a beginner?
If you are a beginner making your first diorama, begin with a simple idea or a single moment in time, such as a small campsite, an old ruined wall, or a vehicle parked on a dirt road using affordable household or craft materials.
What is a diorama example?
A diorama is a three-dimensional (3D) miniature scene or model that tells a story, represents a real or imagined place, or demonstrates an academic concept. It generally includes a painted background, a detailed floor or base, and small figures or objects.
How do I build a diorama base?
For a sturdy, realistic diorama base, choose the main material, frame the edges, form the terrain, and seal the surface before adding details.