How to Make Detailed Scale Models Using a 3D Printer
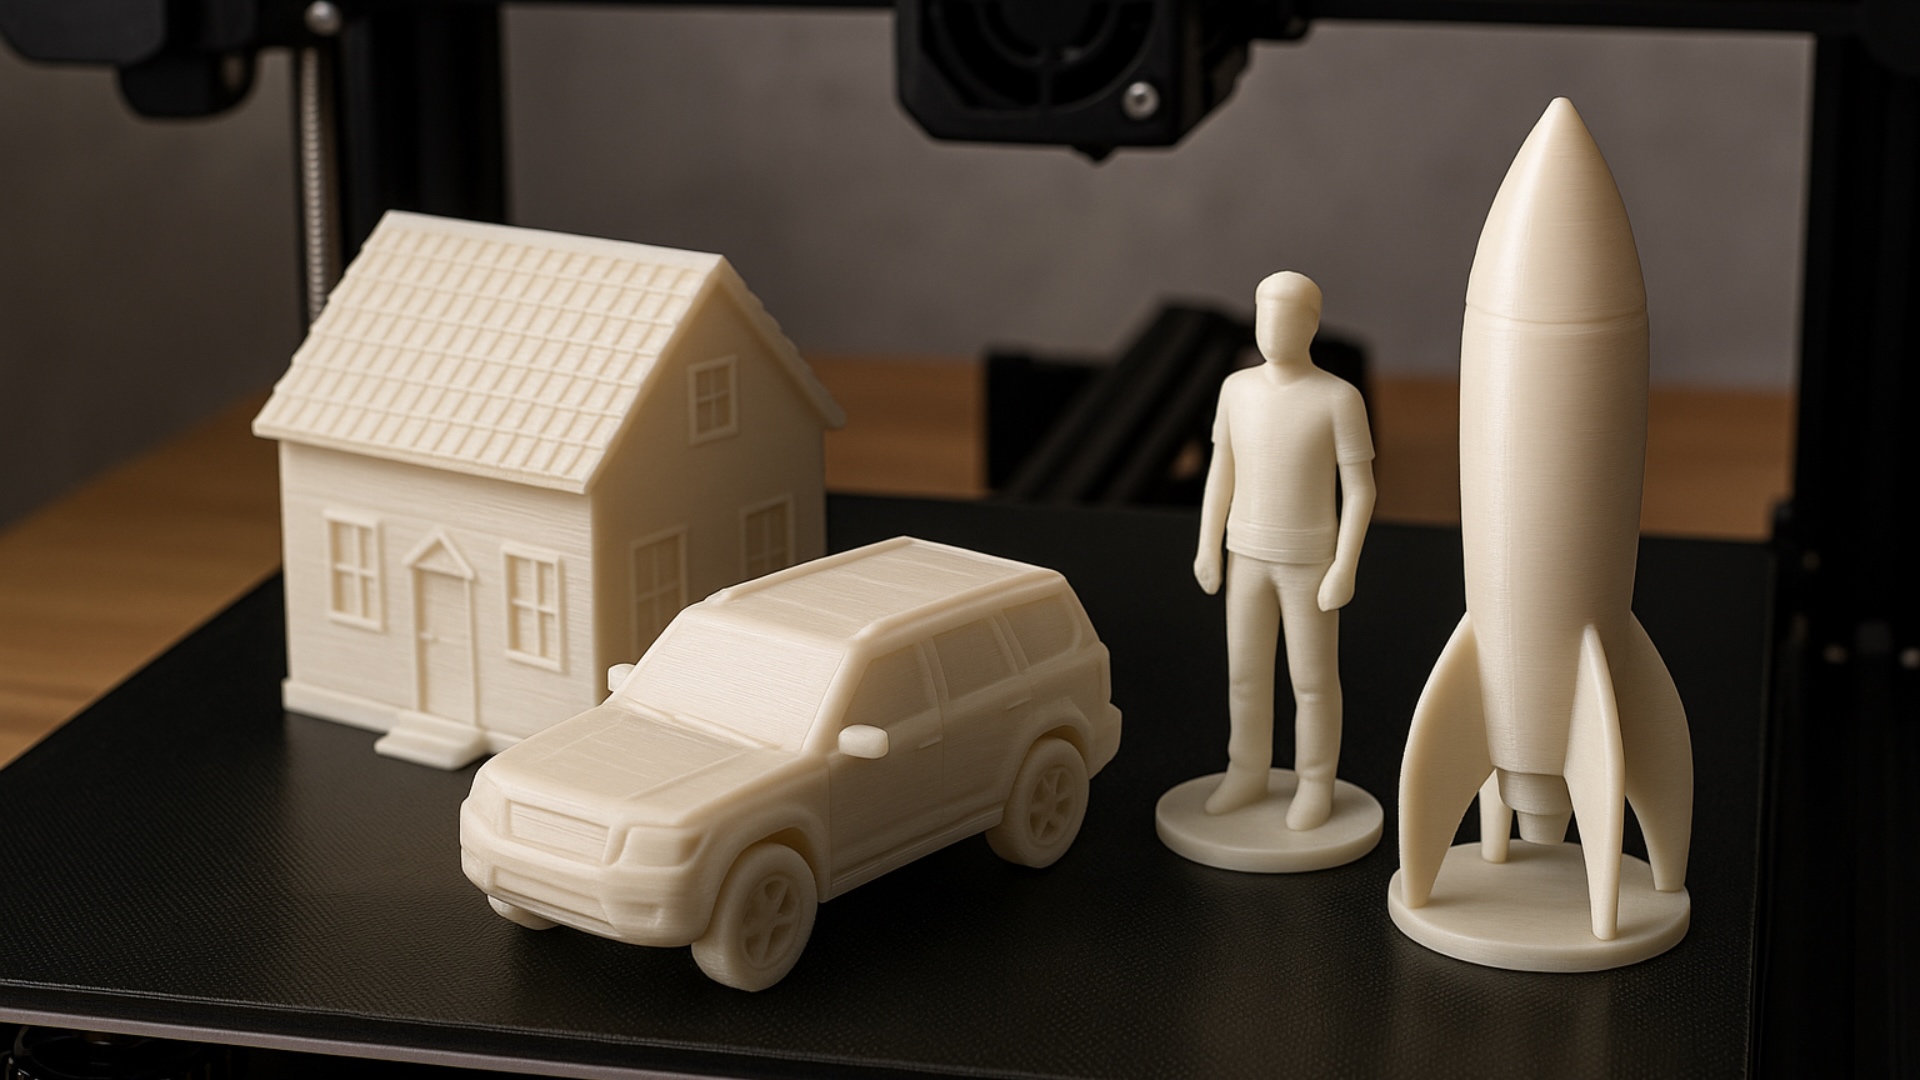
Table of Contents:
Materials You’ll Want on Hand
As previously stated, having a healthy dosage of creativity will be quite beneficial. Some of these items come from jewelry, craft, and sewing stores, while others appear in art stores and the cosmetics section. If you don’t have a store close by, Amazon and eBay are always nice locations to check. As usual, don’t feel scared to give a tool a try if it seems like it might be more effective than anything I recommend. The appropriate tool might be any tool.• Wire, nails, pins, and needles
• Tubing and rod made of brass
• Hobby knives that are little and sharp (the sharper the better)
• Tiny pliers (excellent non-magnetic ones)
• A pin vise (a small, unpowered drill) and tiny drill bits
• Different glues (epoxy gives you a long working time, UV resin could be excellent, and super glue works nicely)
• Paintbrushes in various sizes and forms
• Model or art paints (acrylic is water-cleaning, although enamel is more common and comes with a wider range of colors)
• Tiny screwdrivers
• Different sizes of sharp files
• Sandpaper that is fine
• A jeweler’s saw (along with a few extremely thin blades)
• String, tape, scissors, etc.
• Finally, but just as importantly, a 3D printer
I’ve accumulated these things over time because I needed them for many projects. However, I never needed to use everything for one single assignment. This list simply gives you a starting point to brainstorm potential needs or uses. You might require half of what I listed—or even more—depending on your project.Step 1: Start by Creating a Design
Designing is the next step after you decide what to build. Or, in my situation, I begin measuring the actual object so I can scale it down and reverse-engineer its shape. Although I’ve had to do it from just photos, I find it much easier to measure the object rather than design it from pictures alone.
When designing, remember that you don’t need to create or print your model all at once. Printing in one piece might seem quicker and simpler, but the prints typically come out less clear and sharp. I get excellent results when I align individual parts properly on the printer’s bed.
You’ll want to know a bit about your printer. For example, the X, Y, and Z axis resolutions (or the printer’s bed size if you’re working on bigger parts) will determine your design limits. Most printers use 0.4mm nozzles. I’ve heard of 0.15mm nozzles—they’re pricey and hard to find—but 0.2mm is the smallest I currently have. Many printers give a minimum Z axis resolution of 0.0437mm. Ideally, the Z axis should offer a finer resolution than X and Y, but that’s not always the case.
Take printing a pyramid, for example. A square becomes the initial layer. But a printer’s nozzle is round, so it can’t create a sharp corner. The nozzle’s radius defines the tightest curve you can make. Not even a corner. As the pyramid prints upward, each layer must be smaller but maintain shape. This creates a stepped look rather than smooth slopes. I get the best results by printing parts larger than needed and then filing or sanding to form clean, sharp edges.
What about a sphere? Printers don’t really print circles. They create polygons—multi-sided shapes—with no true corners. The Z-axis layering means vertical curves also become stair-stepped. Sandpaper becomes your best friend here. But honestly, you likely won’t notice the imperfections unless the model is over an inch in size. Plus, painting helps hide the roughness.
People also talk about using supports. You can’t print angles beyond 45–50 degrees without support (think of that pyramid flipped upside down). A sphere requires support for the bottom half. But support material never gives the clean, smooth finish a build plate does. I try to avoid support wherever I can. I’ve never used dissolvable filaments, which might offer a smoother surface. Maybe a Scale Model Maker in Malaysia has better insight into that! Do some testing of your own.
So how do I handle it without support? I split complex shapes like spheres into two hemispheres or flatten areas that don’t need curvature. Remember: what matters most is often how your Scale Model looks—not how perfectly accurate it is.
Sometimes you’ll face details too small to print. You either enlarge them or omit them. For example, my 1/64th scale grain cart uses fenders that look reasonably thin, but at full scale they’d be two inches thick!
Where am I going with this? That grain cart used 22 printed elements, plus two wires and seven nails. I printed each angled part flat to avoid supports and get clean surfaces. It also made adding movable parts, like rolling wheels and working pivots, much easier.
Step 2: Print with Precision
I’ll keep this short since lots of people have already written about this. Printing involves a lot of variables.
Start with a clean, level print bed. Dry your filament—PLA absorbs moisture. PLA also prints smoothly and consistently. Don’t skimp on filament quality! If it isn’t consistent, your print won’t be either.
A 0.4mm nozzle gives solid, fast prints. I’ve tried 0.2mm for more detail, but it’s finicky. I had bed adhesion issues and frequent clogs. Still, the results can look fantastic.
Don’t print 50 parts at once. One failed print could ruin the whole batch. You’ll also deal with stringing between parts, which adds cleanup time. If you plan to paint later, the filament color matters. White paint over black filament takes multiple coats. Whenever possible, use filament in the same color as your planned final color.
Step 3: Paint and Assemble with Care
Now that you’ve printed everything, it’s time to make it look good. For rough patches, stringing, or weird edges, use sandpaper, files, or sharp knives. I fill in holes or accidents with glue. Ensure that moving parts glide smoothly.
I use tiny nails for axles and pivots. For pieces too small to print, I sometimes substitute brass rod or tubing.
You’ll have to choose between painting each part separately and then gluing them—or assembling first, then painting. Solid color pieces are easier to paint. But sometimes you don’t have that luxury. A sharp paintbrush helps with clean lines. Toothpicks work great for tiny dots or details.
When mixing paints, track your color ratios carefully. Better yet, mix enough for the whole project at once. Two batches of “the same” color often don’t match.
Step 4: Gather and Display Your Models
Creating a collection of small models is deeply rewarding. A 3D printer made Scale Model Making Company projects far easier than they used to be.
I build most of my models at 1/64th scale, a common scale for farm equipment toys. I’ve produced dozens of models, including working wheels and steering parts. It’s become an ongoing collection and a passion.
I could totally see a Building Scale Model Company or enthusiast club forming around this type of work. Whether it’s a Scale Model House, a vehicle, or something fantastical—you can bring your imagination to life.
So take your time. Enjoy the building process. And be proud of what you make.
Contact us if you have questions, suggestions, or just want to say hello! We’d love to hear from you. Whether you’re curious about our work, looking for guidance, or interested in collaboration, feel free to reach out. We’re here to help and always open to a good conversation.
- Tagged 3D Modelling in Architecture, 3D Scale Model Maker, Architectural 3D Modeling, Architectural Model Maker, Architectural Scale Model Maker, Building Scale Model Company, Model Building, Model Maker, Model Maker Malaysia, Scale Model Maker, Scale Model Maker Malaysia, Scale Model Making Companies