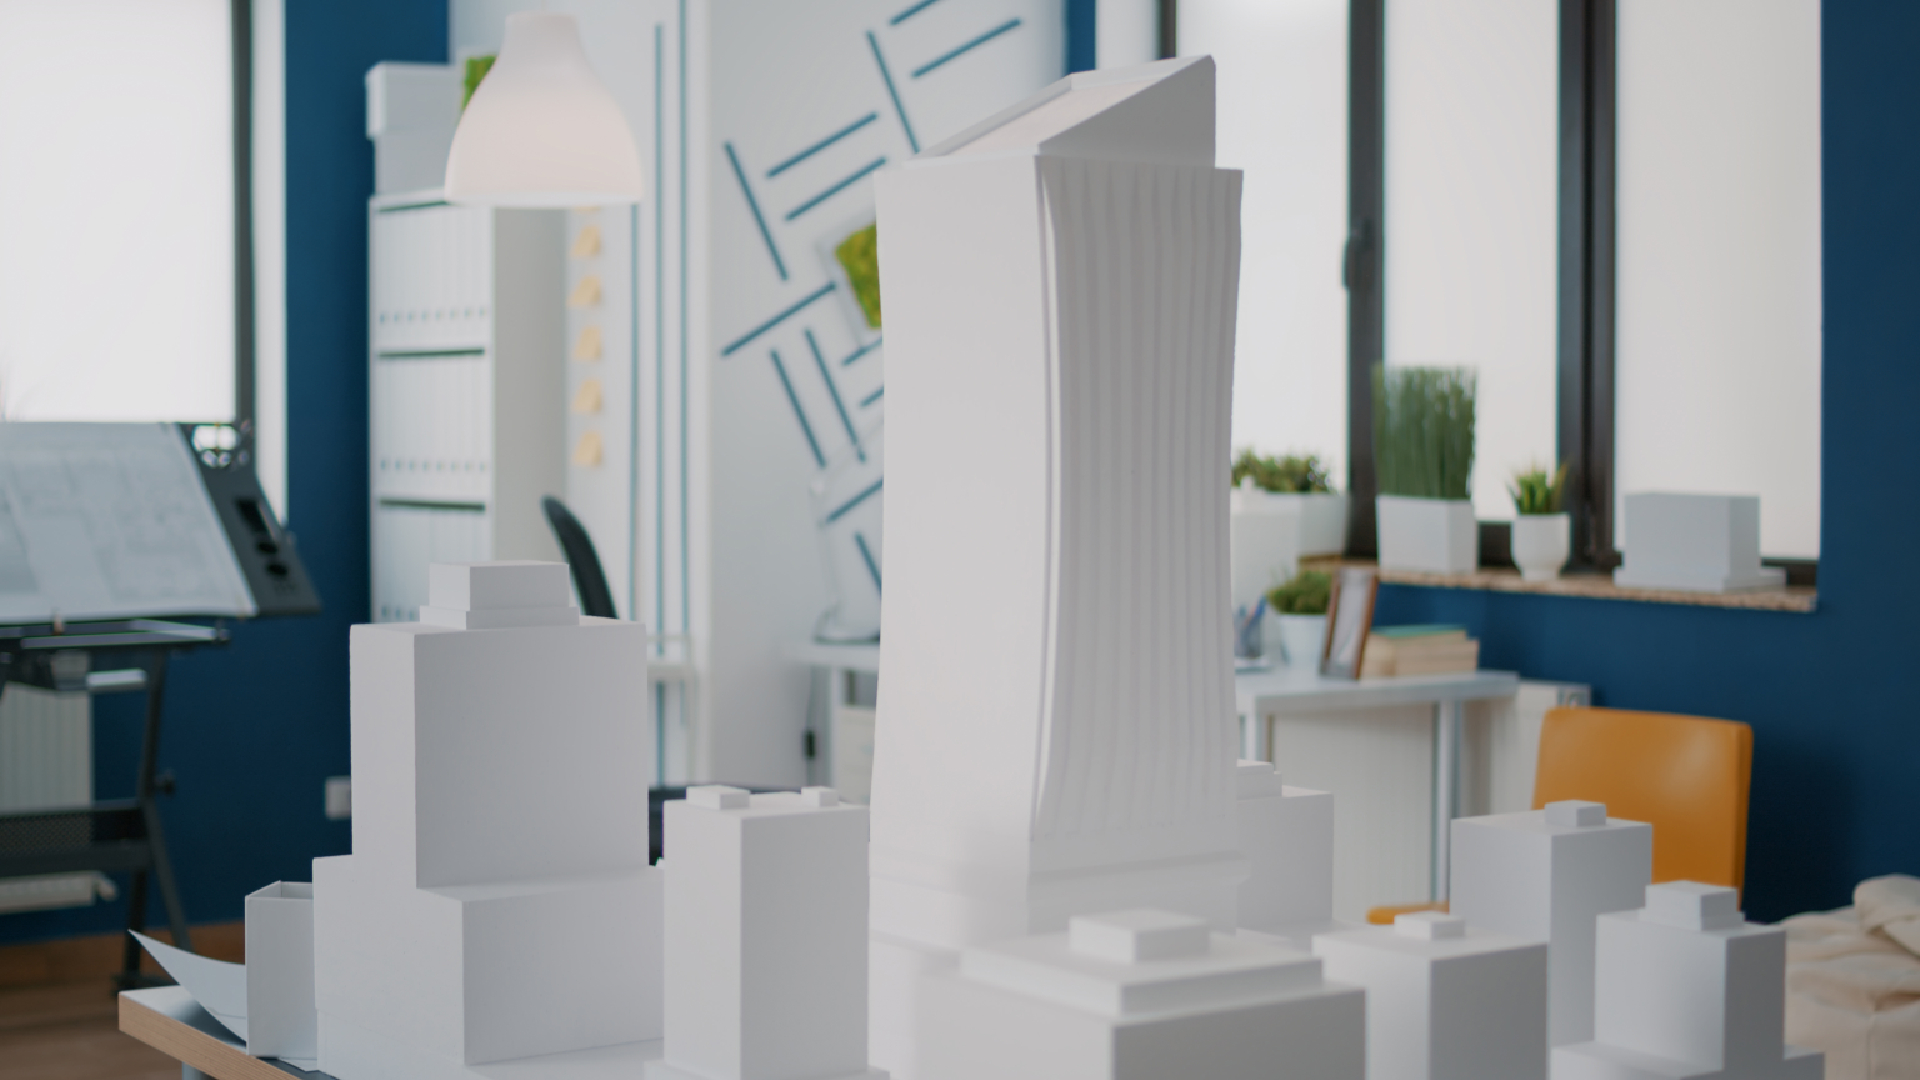
Guide to Making Foam Board Architectural Models

Architectural models take an idea from scale model maker, somewhat abstract, and convert it into a tangible, scaled creation. The foam board is one of the best materials for this purpose. It is cheap, light, and easy to cut into specific forms. Students compose their concepts, whereas professionals present theirs to clients. Foam board models are useful tools in visually explaining designs to make the concepts more comprehensible. Following suitable procedures can furthermore assure a model with convincing detail and finish.
Table of Contents:
Selecting the Right Foam Board
Strength and appearance of the model depend on the choice of foam board. Thin boards are fine and used to make walls, roofs, and partitions. They are easy to cut and handle but are not very good when heavy pressure is applied on them. Thick foam boards offer solidity and are therefore used as bases and structural supports. White foam board looks clean and simple, perfect for school projects. Black foam board creates contrast, helping details, and edges stand out. Certain foam boards are available with special finishes, which can be helpful in getting a texture for your design. Hence, a right choice guarantees correctness and durability throughout the process.Essential Tools and Materials
Apart from the right pieces for a model, it’s all about right tools for smooth workmanship. Best utility knives allow for clean straight cuts to be made. Metal rulers measure between lines or slips. A cutting mat protects the surface and makes it safe for cutting. Strong adhesives that do not leave marks on the foam are a must. Pin glues clear so the glue can never be seen. Pins and clips come handy for holding separate pieces together while the glue is drying. Extra blades are a must; very dull edges make cuts rough and irregular. Pre-arranging things saves time and eases the whole process.Cutting and Measuring Techniques
Cutting accurately on foam sheets is the one and only foundation for making successful foam board models. Begin by measuring diligently and re-measuring all dimensions before some preliminary cutting. Instead, use a sharp blade, and make light strokes-a single hard press may cause tearing or compressing of the foam. Cuts across a metal ruler keep both edges straight and consistent. Use new blades every time, as dull ones leave jagged marks. Practice cutting small pieces beforehand before the big pieces. Create templates for repeated shapes to ensure uniformity. The more precise your cuts, the cleaner and more pleasant your final product will look. This is made leveraging the architectural scale model maker.Assembling the Model
Start assembly with the foundation and move upward, step by step: attach the base board to grant stability. Position the walls and partitions according to your plan, and glue them safely. Use less glue to avoid unnecessary marks and warping. Press and hold the parts until they dry. This is made easy using model making services. The corners should meet at a right angle for scale accuracy. Once the walls are done, the floors and roofs should come next. Go slow and make sure that every layer supports the one above it. Working at a comfortable pace will rule out errors and provide a more sturdy structure.Adding Details and Textures
Details animate the model and lend it the air of realism. For windows, doors, and trim, thin foam board or card can be used. Textured papers can be pasted to give the appearance of brick, stone, or wood. Transparent plastic sheets make good glass. Painting is an option, too, but make sure to keep the coats thin to prevent warping. Landscaping treatments can be put in-place through craft materials like trees, grass, or concrete. Even a bit of railing or fencing would sharpen the looks. Details fall back on your creativity and transform a plain model into a professional piece. This is done with the help of a scale model making company.Finishing Touches
Check your model for small imperfections before presentation. Remove glue stains with a sharp blade or fine sandpaper. Trim edges that are uneven and smooth rough joints. Mount your finished model on a sturdy board for protection during transport. You might want to label different sections to draw attention to important features. Landscape the site, or place human figures to give scale and context. These finishing touches go a long way in making the model attractive to the eye and relatively easy to understand. Such a well-executed presentation will do wonders for your project’s impact on the audience.
Foam board models provide a good exercise in combining creative and technical skills. They are meant to present designs in a professionally recognizable and understandable manner. Materials and tools that lead to a smooth construction process must be selected. To get started on your journey with a professional 3D scale model maker Malaysia, contact us! Precise cutting, careful assembly, and neat finishing must be executed to ensure exemplary results; these are skills to be learned with repeated practice. Whether it is for school projects or client presentations, foam board model-making is an indispensable skill for an aspiring designer.
- 3D Scale Model For Building Company, 3D Scale Model Maker Malaysia, Architectural Model Maker, Architectural Model Price Malaysia, Architectural Scale Model Maker, Building Scale Model Company, Model Making Services, Scale Model Builders, Scale Model Company Malaysia, Scale Model Maker, Scale Model Making Company
