How to Sand Scale Models: The Step Most Beginners Skip
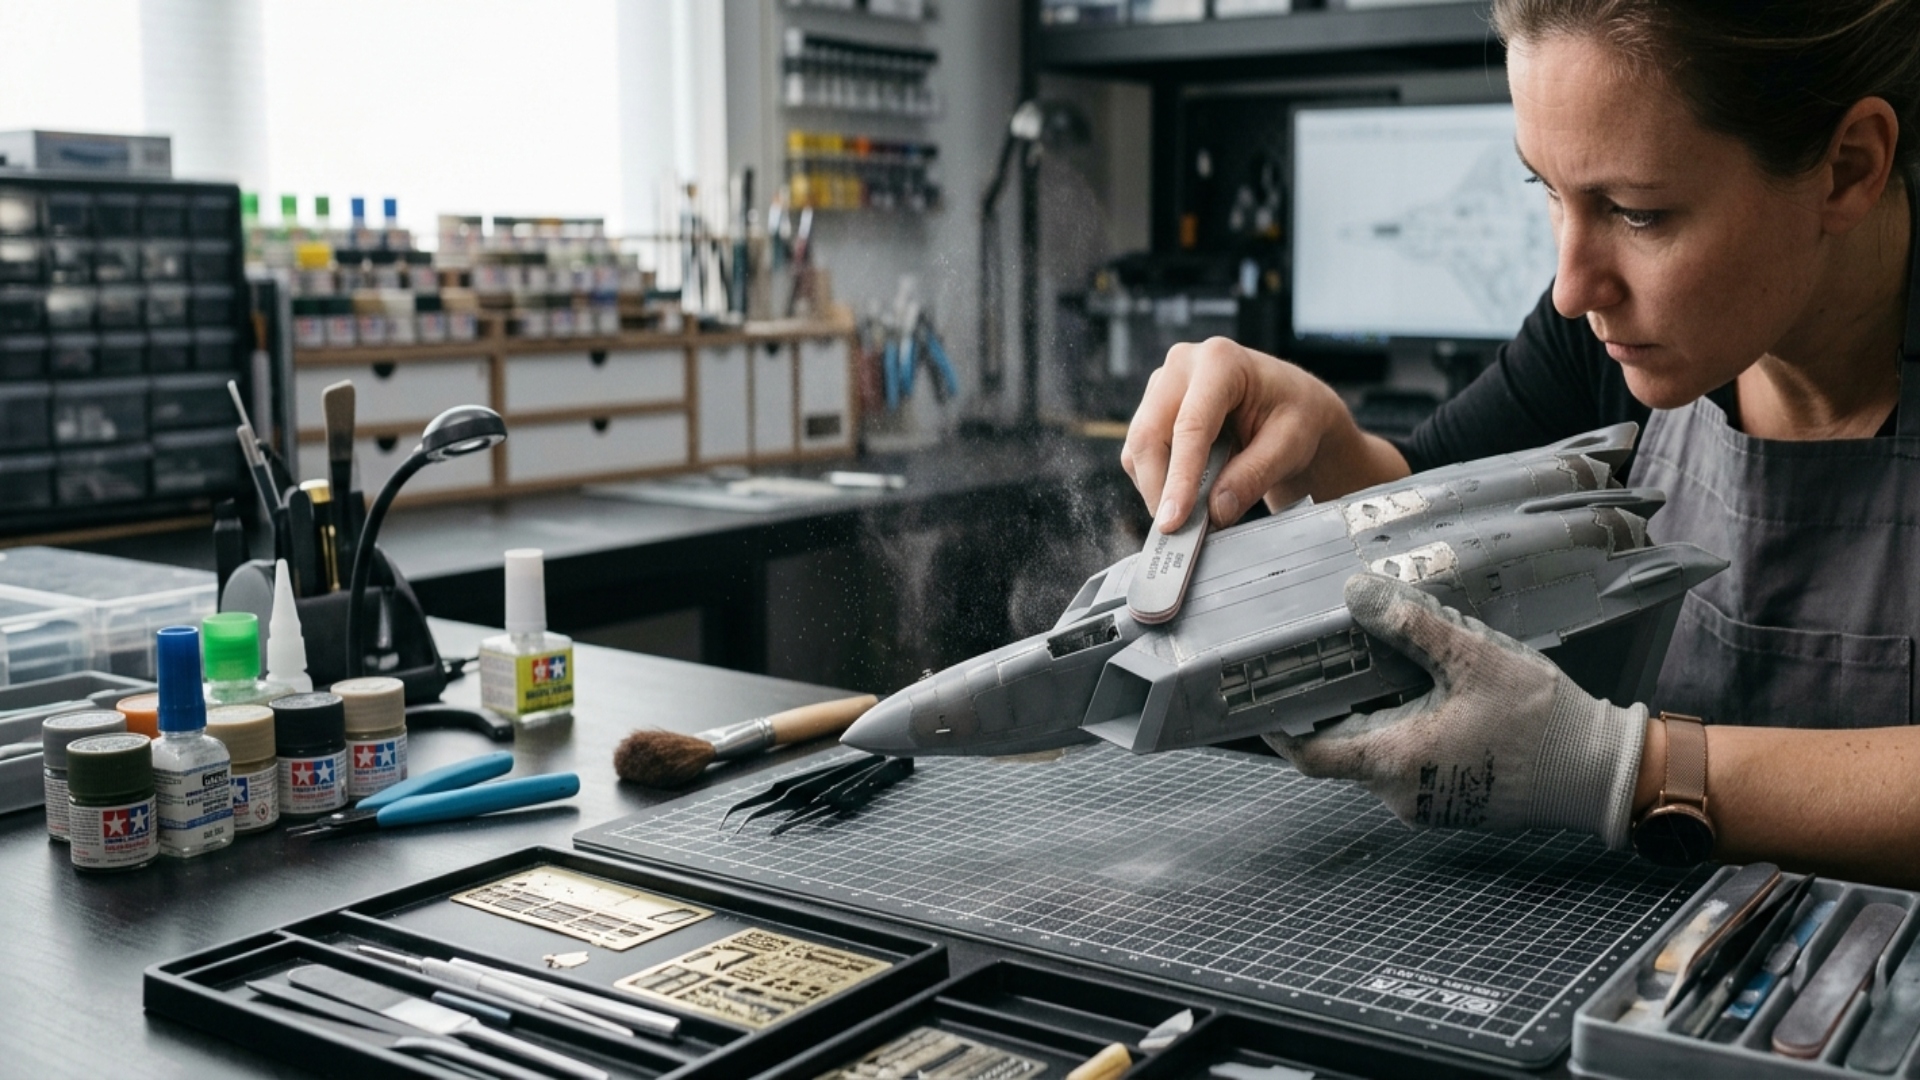
Table of Contents:
The Mistake Many Newcomers Make
A handful of new Scale Model Builders blow cash on fancy paints, slap them onto rough plastic, yet wind up with something that screams “plaything.” Yet here’s the twist: a couple bucks spent on sandpaper – worked properly – turns basic spray coats into finishes fit for shelves.
Most 3D Scale Model Maker find that getting sanding right makes a big difference. A smooth finish often comes down to patience plus the right touch. Some start with coarse paper then shift approach halfway through. Others prefer wet methods which change how surfaces respond. The way pressure spreads matters just as much as motion direction. Mistakes show up fast under bright light so care stays high. Each pass removes tiny bits but Building Scale Model Company toward something clean. Learning when to stop separates okay results from great ones.
How Sanding Affects Results More Than Painting Does
Patches of uneven texture wait beneath the color, showing up once paint goes on. Where a tool slipped during shaping, that flaw appears clearer after coating. Light bounces off shiny surfaces in broad sweeps, dragging attention toward lumps left behind. Tiny lines from molds stay visible, refusing to vanish under wet layers. Metallic tones intensify what lies below, turning subtle ridges into clear landmarks.
Most of those Scale Model Building you see winning awards? Their secret isn’t fancier materials. It’s patience before the first coat even touches plastic. Watch closely – smooth finishes come from hours with sandpaper, not magic bottles. A sharp edge or rough patch ruins clarity, no matter how shiny the top layer seems. Mistakes show up when light slides across uneven spots. Flat surfaces catch flaws fast. The real difference hides in tiny steps skipped by impatient hands.
The Two Jobs of Sanding
One reason people sand in scale modeling might surprise you. Knowing what each purpose does changes how it’s done. The second role matters just as much as the first.
Material Removed
Out comes the extra plastic – nubs, overflow, edges from molds, stuff squeezed into seams. Bits that shouldn’t stay get stripped away here.
Abrasive grains ranging from 240 to 400 work well since they strip away surface layers at a steady pace. Yet their structure still maintains enough strength to avoid crumbling too fast during use.
Surface Refinement
A fine, even surface forms here, helping primer stick properly before paint goes on. The texture stays uniform, so nothing peels or patches later. With this base, coverage runs steady without gaps. It holds everything together from the start.
A smoother finish comes from grits rated 600 to 2000, chosen before paint goes on. Though coarser options exist, these refine the texture just enough.
The Grit Progression
Skipping steps while sanding model scales might seem fast, yet it causes more trouble down the line. Each level of roughness needs its moment, no shortcuts allowed. Think smooth only comes from starting coarse and moving finer, step by step. Rushing through grades leaves marks harder to fix later. Patience here means fewer problems ahead.
Start with coarse, move to fine – skipping steps hides damage. Picture 400 stepping aside for 1,500; too wide a leap means rough marks stay buried beneath the surface, untouched.
From 240 to 320 grit, you strip away heavy buildup – thick joints or big raised spots go first. Next up, 400 grit handles leftover bumps once filler settles in. Smaller imperfections fade under 600 through 800 when prepping for primer. Once coated, light sanding at 1,000 to 1,200 smooths each layer before more goes on. Between paint stages, 1,500 to 2,000 lifts off texture like orange peel without cutting deep. Near the end, beyond 2,500 clears fine flaws just ahead of that glossy top finish.
Wet Sanding When and Why
Water becomes essential when the grit climbs past 1,000. Sanding at that point needs moisture to keep things smooth. Without it, heat builds too fast. The surface risks damage if left dry. Higher numbers mean finer scratches, but only with liquid help. Friction changes its behavior once you cross that line. Coolness matters more than pressure from there on.
A tiny bit of dish soap mixed into water makes the surface slick. This slipperiness lets debris move off more easily. Because grit washes away, it cannot rub back across the model during sanding. The liquid carries gunk out of the way before damage happens.
Water the sandpaper the whole time. Every so often, clear off the surface. Check how things look after each round.
Inspection with Raking Light
Low-angle lighting skims across a model’s surface, revealing tiny details. This method highlights texture by casting long shadows. It works because shallow light catches imperfections others miss. Shadows stretch where height changes occur. The effect makes scratches or bumps stand out clearly. Viewed this way, flat areas stay dark while raised parts catch the glow. Inspectors often rely on it before finishing work. Small flaws become obvious under such grazing illumination.
Under slanted light, tiny flaws show up – ones you’d miss with regular ceiling lights. Before primer goes on, take a close look using this angled glow.
Electric vs. Manual Sanding
Years went by before anything changed – sanding meant sticks guided only by hand. Even now, fingers do work machines can’t touch: cramped corners, twisted shapes, tiny ridges standing proud. Though tools evolve, some tasks stay stubbornly human.
Still, when big areas need smoothing, power Sanders cut time sharply – machines just move faster than hands ever could.
Electric Sanders
– Back and forth movement stops round marks from forming
– Steady force comes easier when your grip stays relaxed. Working longer feels simpler if strain drops away. Pressure holds firm even as hands loosen up
– Fine on smooth areas, especially where joins stretch far. Smooth runs work well across even ground
– Fine details matter most on big jobs – this tool fits right in. Resin work? It handles those setups just as well
Most seams and wide, even areas get smooth fast with this sander from DSPIAE. Power jumps up in the ES-A PRO model, its shake finer, built to handle big jobs without slowing down.
Most new users find the regular ES-A works best at first.
Manual Sanding
– Built for cramped spots where detail matters most. Inside corners get attention without fuss. Where space shrinks, performance holds steady. Precision thrives even when room runs out. Fitted shapes reach what others miss entirely
– Better for complex curves near raised details
– Flexible sanding sticks conform to unusual shapes
– With every touch, a sharp response comes through clearly. Control feels sure under hand because of how it reacts. It pushes back just enough to let you know it’s there
On rounded sections like fuselages or turrets, uneven sanding often ruins contours – this tool keeps contact steady while following curves naturally. Cylindrical components respond well when pressure stays consistent, avoiding flat spots where it matters most. Instead of forcing material down, the AT-CSS adapts as it moves across complex forms.
Still, power tools can’t handle every job. For tight spots where accuracy matters most, bendable acrylic sanding rods remain a go-to choice.
Common Mistakes to Avoid
Skipping Grit Steps
Most new people make this error without realizing it. Going straight from 400-grit to 1,500-grit means deeper marks stay hidden under the coating layers.
Always follow the full grit progression.
Pressing too hard
Pushing harder won’t speed things up. In fact, heavier force leads to worse marks while wearing down the paper much faster.
Start slow, letting the grit handle the effort instead of pressure. A steady hand moves easier when you trust the material to cut on its own. Glide without rushing, since speed adds heat not progress. Let each pass flow like breath – repeating smooth, staying even.
Skipping Clean Before Primer
Once you finish sanding, tiny bits of plastic dust mix with skin oils settle on the surface.
Start by rinsing each piece under a stream of lukewarm liquid mixed with gentle cleanser. Fingers should stay clear of areas already washed – keep them untouched until needed. Once wiped down, leave all items lying out till zero moisture remains, then begin the coat application.
Sanding Too Close to Raised Details
A little space helps – keep bigger sanders 2–3mm clear of fine grooves, bolts, or any parts that stick up. What matters is avoiding pressure near fragile edges while smoothing nearby areas.
Using a smaller sanding stick helps where space is tight. Light pressure works better there instead of heavy hand. A gentle touch makes the surface smooth without digging in. This method keeps control while shaping edges. The tool fits into corners easier this way.
Simple Tips for Better Results
Check Surface with Slanted Lighting
A close look under angled light comes first, every time. That kind of glow shows what flat lighting misses – tiny dips, ridges, rough spots. Before any primer goes on, wait until you have scanned it that way.
Use Worn Sandpaper When Needed
Old 800-grit paper might feel softer on the surface compared to brand-new 1,200-grit, which helps when doing a last light sweep before primer.
Sanding Deep Recesses
A narrow piece of sandpaper can bend into tight spots. Its creased corner works much like a tiny saw blade when moved back and forth. The stiff fold gives control where fingers struggle to go.
Keep Water Nearby
A small bowl of soapy water should sit nearby while you work with wet sanding. Every few passes, pause to dunk the paper into the mix. Water washes away grit gunk that slows progress. Smooth cuts last longer when the surface stays rinsed. Debris builds up fast if left unchecked. A quick dip clears clogs without effort. Paper wears evenly once grime is removed. Consistent motion feels better on clean grains. Rinse often enough to see results shift. Little pauses make big differences down the line.
The Sanding Steps in a Full Build
Start by shaping the piece before touching any sandpaper. After that comes smoothing rough areas bit by bit. A soft brush removes dust between stages. Progress moves from coarse grit to finer grades slowly. Each shift in texture prepares the surface ahead of paint. Finish work reveals details hidden under scratches
Once the rough spots are gone, smooth things out with 400-grit paper. Following filler work, go over seams again at 400, then step up to 600. Prior to applying primer, finish with a light run using 800 grit. When the primer has fully hardened, wet-sand between 1,000 and 1,200. If texture shows after color paint, bring in water and 1,500 to 2,000 for smoothing. Heading into clear coat before stickers, refine the surface with 2,000 for shine
Start with step one every time if you want that sleek result everyone notices. A steady rhythm through each stage brings out the shine hidden in any can. Skip nothing. Watch how even basic colors gain depth when treated right. Done well, it shows without saying.
Conclusion
Smooth results start long before paint touches plastic. Even top-grade materials fall short if the surface feels rough beneath fingers. Move through grits like stepping down stairs, never jumping steps. Water or air? Pick what keeps dust from hiding flaws. Watch every inch as work evolves – tiny ridges grow obvious under light. Mistakes vanish when attention stays sharp. Sharp edges soften into place with patience. What looks flat might still hold bumps only touch reveals. Finish transforms when prep earns respect. Realism hides in how light slides instead of snags.
Start smooth, finish proud – this truth hits hard when dust flies under steady hands. A rookie might rush it; a veteran knows waiting shapes perfection. Surface flaws vanish not by luck but through repeated passes with paper grits that whisper progress. What looks flat often hides ridges only light can reveal. Touch matters more than speed every single time. Mistakes fade easier than assumptions do. Done right, edges catch glow instead of blame.
Start with clean surfaces if you work at a model-building firm. When hunting for a solid 3D scale model creator, smooth finishes matter just as much. Even when hiring experts for Model Building Malaysia or Scaled Model Assembly in Malaysia, prep stays key. Without it, details blur. Edges lose sharpness. Paint lifts early. Flaws show fast. Mistakes pile up before glue dries. A steady hand means nothing without starting right. Dust hides in corners. It ruins coats. Skipping steps shows later. Patience pays before tools touch materials.
Curious about how we craft scale models? Reach out anytime. Our team shares insights without the jargon. Questions often lead to clearer pictures. Talking helps shape ideas into something real. Reach out to us when it feels right.